In this article, we focus the build itself. The build is by none other than Interstellar Modeler Oggie Gonzalez leaving this build with some very expert hands.
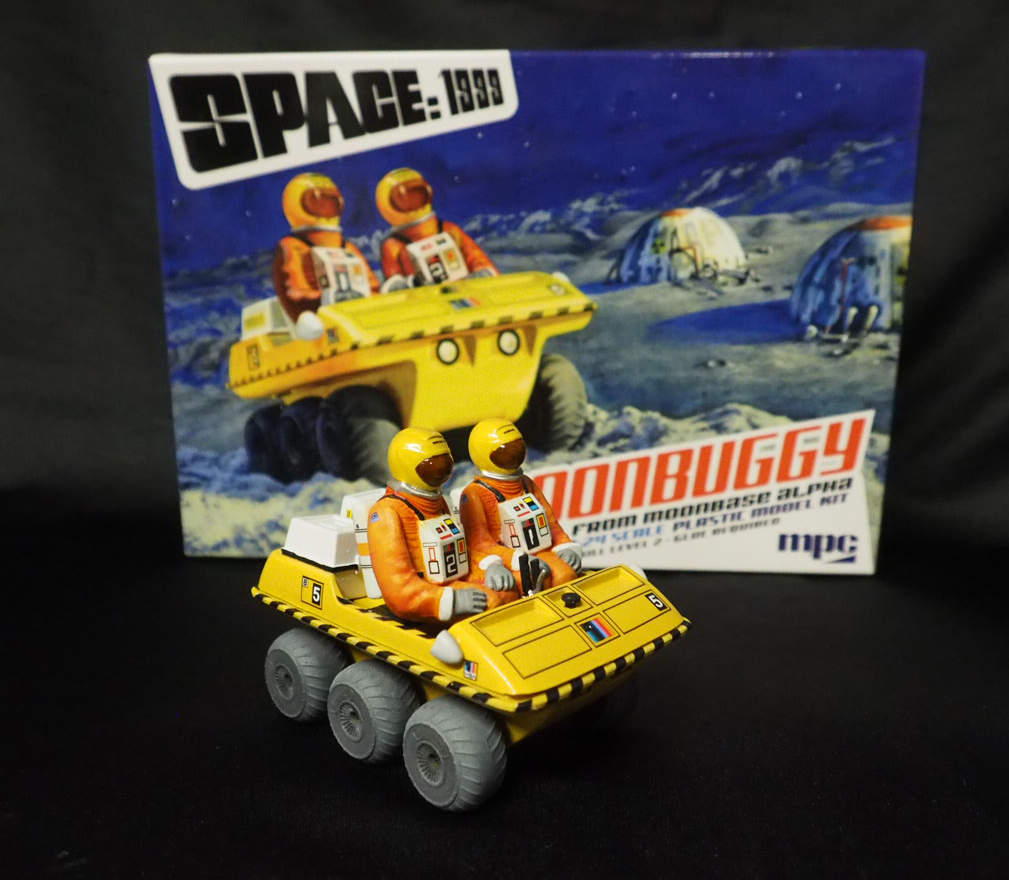
Oggie writes: “The kit was easy to work with and not at all complicated to build. The instructions were straight forward as well. The tires are easy to assemble and I used a sanding stick to address the seam in the center. Not totally necessary but I felt it made the tires look more realistic by making them appear a little worn. They were painted with Tamyia’s rubber black then Vallejo’s Light gray was lightly sprayed over them to make them look dusty.


“Priming & painting: I chose to use Stynylrez’s white primer to enhance the look of both the yellow and orange base colors I’d be using for the buggy and space suits respectively. The base color for the moonbuggy was a 90/10 mix of Vallejo Model colors Flat Yellow / Yellow ochre. The same color was used for the helmets.”


“Decal application: I decided to apply the hash mark decals that are placed along the edge of the car prior to assembly rather than afterwards as suggested by the instructions. I knew it required bending the decals over the lip/edge. With the piece unattached to the top section, it gave me the freedom to maneuver around. I felt this would be easier if you could invert the piece to help with adhering and shaping the decals which proved to be the case. Microsol and Microset or similar decal softening solutions are a must for this process.”


“Modifications need to be made with decals 27 and 28 which fit around the rectangular indented sections on both the front and back of the car. I used a very sharp exacto knife to create openings for those rectangular indented sections. It’s too bad that the decals didn’t accommodate for them but it wasn’t too hard to make the modification.”


“I’d say the decals were fairly easy to work with but it would be nicer if they were just a little thinner. Although some probably would feel the thicker decals are easier to handle it would be easier to shape and bend them.”

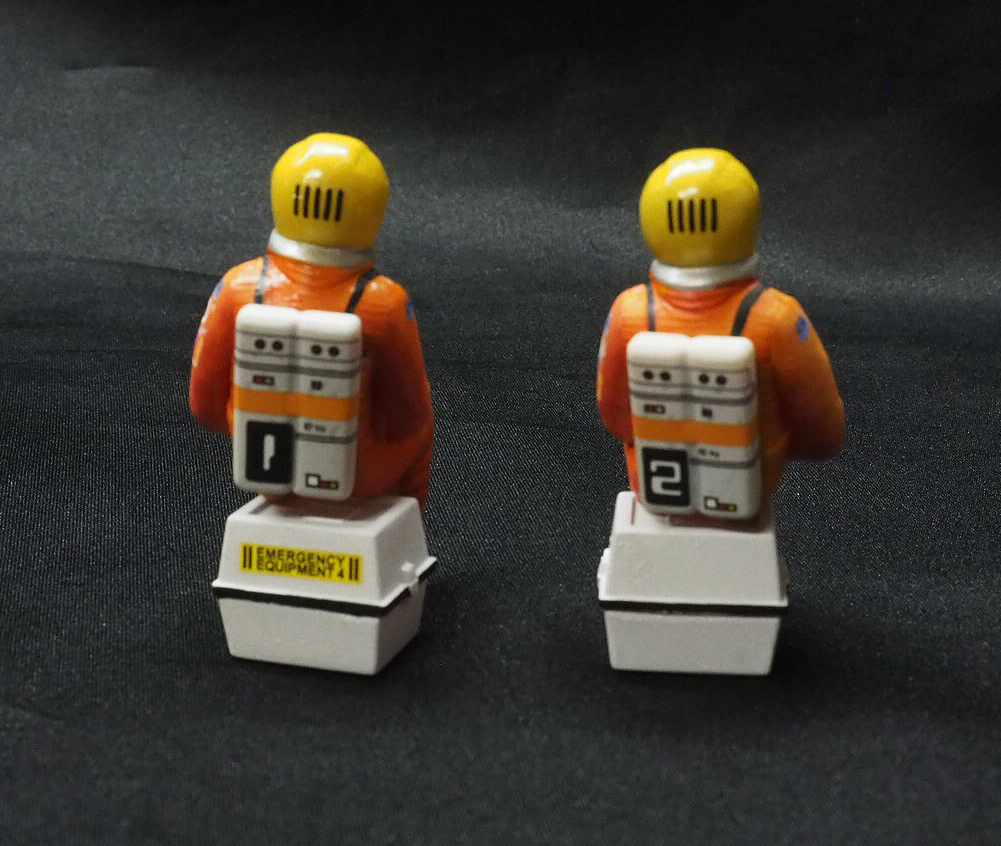


“Figures: The figures include some nice surface details which helped alot when adding in shadows and highlights. Again, thinner decals would have been helpful here too as they would have settled a little better on the contoured surfaces.”


“Overall a great and easy kit to work with. The model looks very accurate and nicely detailed. I plan on adding headlights and a nice display to complete the model.”
A huge thanks to Oggie for taking the time to build, photo and provide build notes for this article. You can see Oggie on his YouTube channel: https://www.youtube.com/@InterstellarModeler
He will be doing a video on this build and will be posting to his channel very soon. Keep your eyes peeled.
These kits are available now at your favorite retailer. More information from round2corp.com

Superb work !!